The Night Sky: A Field Guide to Astrophotography
Few places on Earth hold darkness like the Atacama Desert or the Bolivian altiplano. This is a practical guide to photographing the Milky Way and the stars on a grand journey — the planning, the settings and the patience.
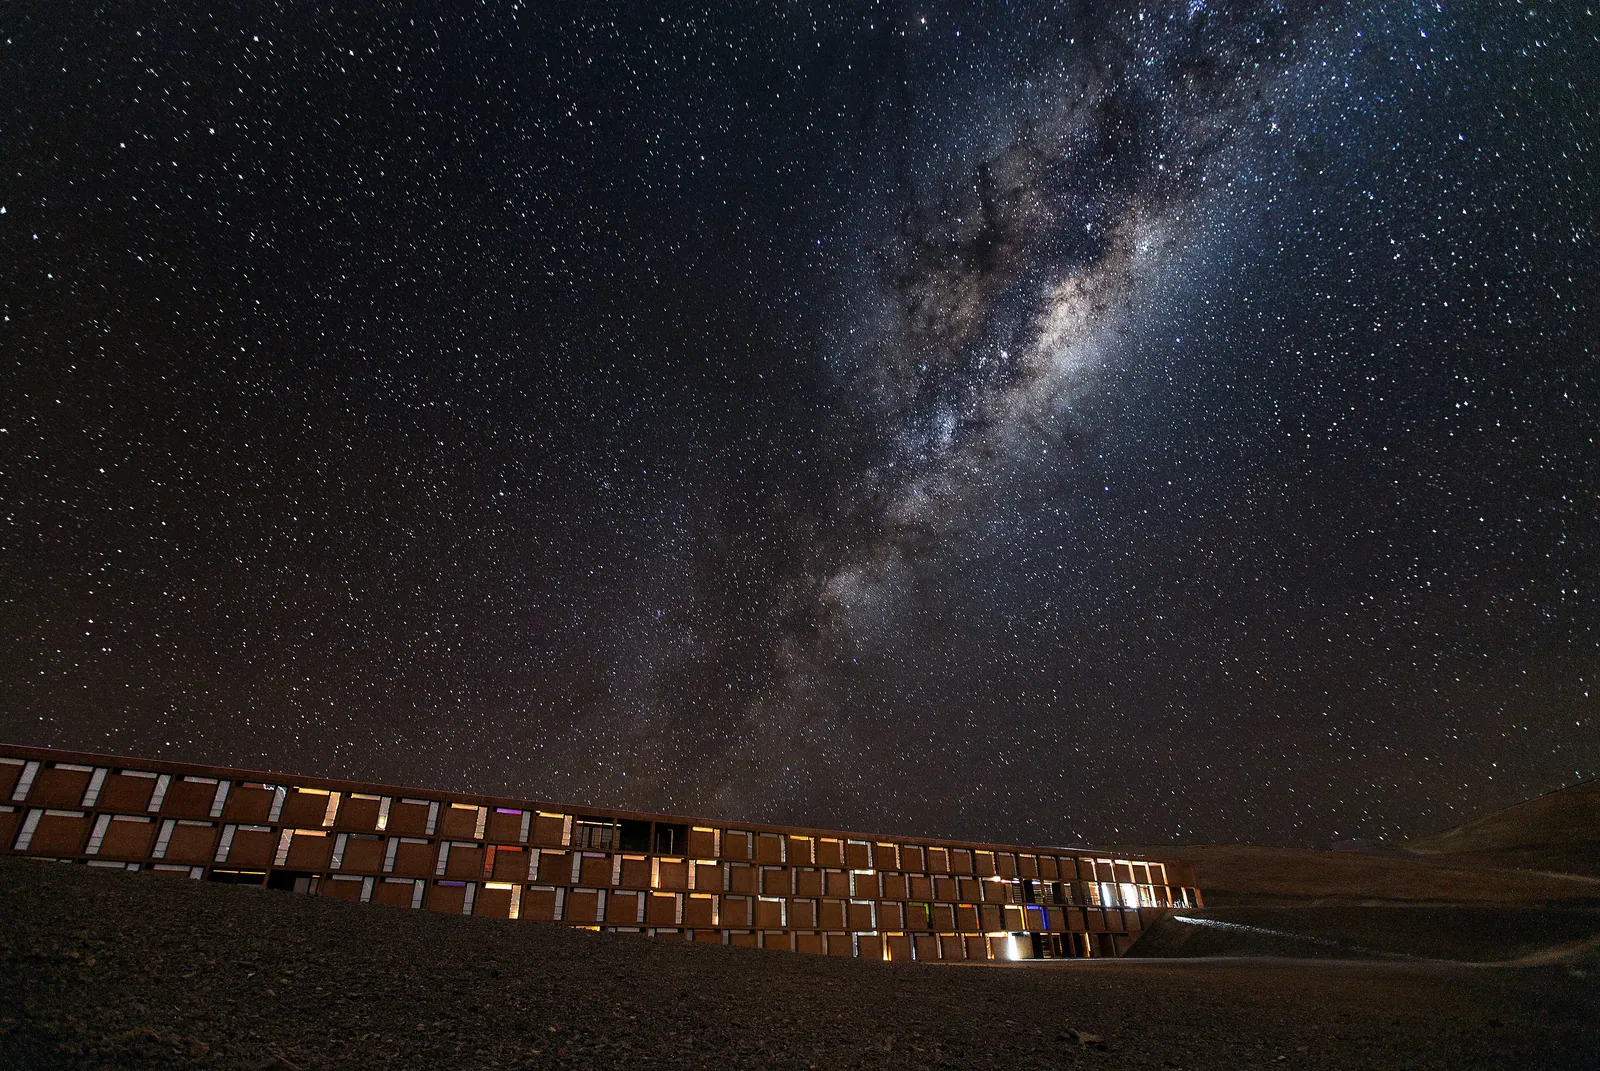
On the high desert of the Atacama, far from any city light and lifted above much of the atmosphere, the night sky is so dense with stars that travellers struggle at first to find familiar constellations within it. To photograph that sky is one of the great rewards of a slow journey — and it is well within reach of an ordinary camera, given dark skies, a tripod and a little preparation.
Astrophotography sounds technical, and the planning genuinely matters, but the photography itself comes down to a small, learnable set of choices. This guide covers what you need, how to find true darkness, the settings that work, and why the night sky asks more of your patience than of your equipment.
What you actually need
Three things are not negotiable. The first is a camera that allows manual control of shutter, aperture and ISO and can shoot a long exposure — most interchangeable-lens cameras qualify, and some recent phones have a capable night or astro mode. The second is a tripod, because exposures of many seconds cannot be handheld; on a journey, a compact travel tripod is the price of admission to the night sky. The third is a way to fire the shutter without touching the camera — a remote release or simply the two-second self-timer — so your finger does not jog a long exposure.
A fast wide-angle lens helps enormously: something around 14mm to 24mm equivalent with a maximum aperture of f/2.8 or wider gathers far more starlight than a slow kit zoom. Carry spare batteries — cold nights at altitude drain them fast — and a head torch with a red light, which lets you see your gear without destroying the night vision that takes your eyes twenty minutes to build.
Finding true darkness, and the right night
The enemy of the night sky is light, and the two sources to defeat are cities and the Moon. Distance from artificial light is everything: the Atacama around San Pedro and the Uyuni altiplano on Andes to Antarctica are among the darkest accessible places on Earth, and the high, dry, thin air makes the stars steadier and sharper still. A free light-pollution map shows how dark any location truly is.
Then there is the Moon. A bright Moon washes the faint Milky Way from the sky as surely as a streetlight, so plan your serious night around the days near the new Moon, or shoot in the window after the Moon has set. A free planetarium or astronomy app will tell you, for any place and date, when the Milky Way's bright core is above the horizon and where to find it — and the core is most prominent in the months around the southern winter. Finally, wait for clear sky: check the forecast, and accept that cloud will sometimes simply win.
The settings that work
Start from a reliable baseline and adjust. Set the lens to its widest aperture, the focus to manual, and the ISO to somewhere between 3200 and 6400. For the shutter, the limit is the Earth's own rotation: hold the shutter open too long and the stars smear into short trails. A rough working guide is to divide roughly 300 by your lens's focal length in 35mm-equivalent millimetres to get the longest exposure in seconds that keeps stars as points — about twenty seconds for a 15mm lens, around twelve for a 24mm.
Focusing in the dark defeats many beginners. Autofocus cannot see a star, so switch to manual, use the camera's magnified live view, point at the brightest star or a distant light, and turn the focus ring until that point is at its smallest and sharpest. Shoot in raw, because the night sky holds enormous detail in the shadows that only a raw file lets you recover. Take a test frame, study it enlarged on the screen, and refine — this loop of shoot, check and adjust is the whole method.
Composition: the land beneath the stars
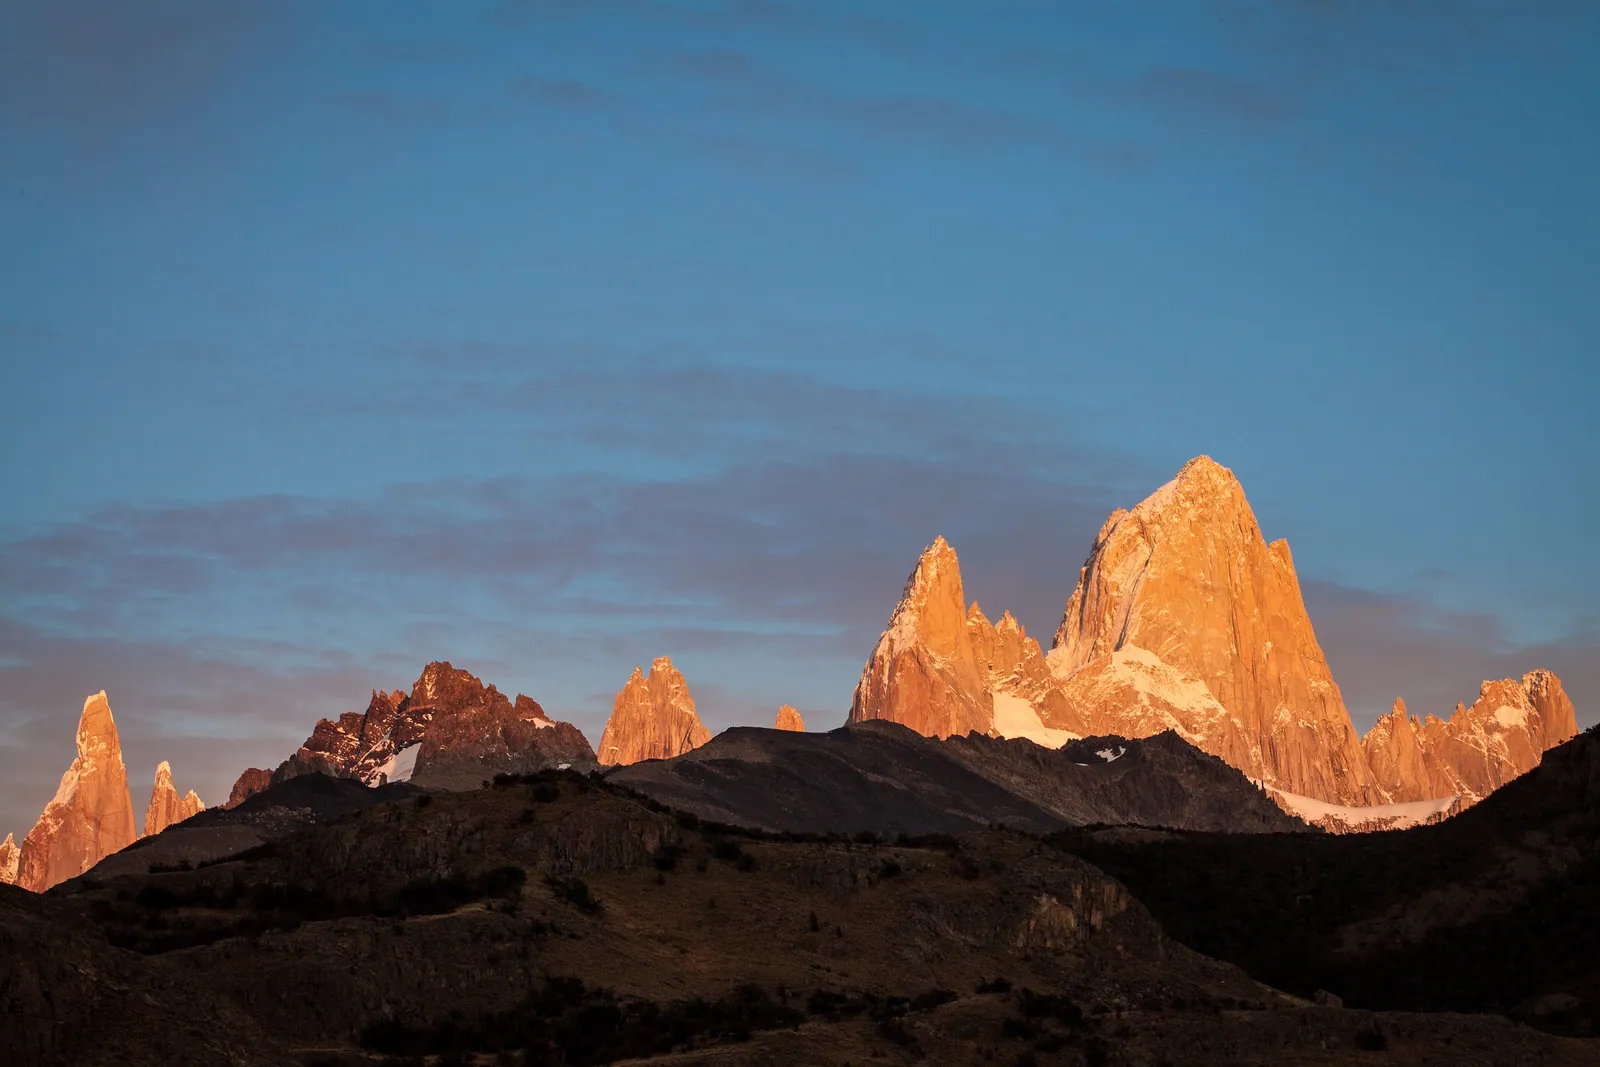
A photograph of stars alone is a field of dots. A photograph of stars above an identifiable place is a picture, and far the stronger one. Anchor the night sky to the land: the silhouette of a peak, a lone tree, a tent with a light glowing inside, a salt-flat horizon, the spires of Fitz Roy under the Milky Way on The Pacific Arc. The foreground gives the image scale, location and meaning.
Compose by twilight if you can, while there is still enough light to place the horizon and the foreground deliberately, then wait for full dark to shoot. A faint, careful light brushed onto the foreground — a head torch swept gently across a rock or held low for a second — can give it form against the sky, but use a very light hand; a blown-out, glaring foreground ruins the quiet of a night image. Keep the horizon level, and let the sky have most of the frame.
Star trails, and the patience the sky demands
If you would rather show the Earth's rotation than hide it, point the camera and let time do the work: a sequence of long frames over an hour or more, later stacked in free software, draws the stars into sweeping arcs of light. Aimed near a celestial pole, the trails wheel into concentric circles. This is a different picture from the points-of-light Milky Way, and it asks chiefly for time and a charged battery.
Either way, the night sky rewards the patient above all. Dress far more warmly than the daytime suggested — desert and altitude nights are bitterly cold, and you will be standing still for a long time. Give your eyes twenty minutes to adjust and resist looking at a bright phone screen. Expect some frames to fail. The travellers who come home with a true picture of the southern stars are simply the ones who stayed out in the cold long enough, on a journey unhurried enough to let them.
Quick answers
Can I photograph the Milky Way without an expensive camera?
You need manual control of shutter, aperture and ISO, the ability to shoot a long exposure, and a tripod — requirements most interchangeable-lens cameras meet, and which some recent phones approach with a dedicated night mode. A fast wide-angle lens helps a great deal, but dark skies and a steady tripod matter more than the price of the body.
How do I stop the stars turning into streaks?
The Earth's rotation smears stars during long exposures. As a rough guide, divide about 300 by your lens's 35mm-equivalent focal length to find the longest exposure in seconds that keeps stars as points — roughly twenty seconds at 15mm. For sharper points still, expose a little shorter and raise the ISO to compensate.
When is the best time to photograph the night sky?
On a clear night around the new Moon, or after the Moon has set, far from city lights — the Atacama and the Bolivian altiplano are superb. The bright core of the Milky Way is highest in the months around the southern winter. A free astronomy app shows when and where the core will appear for your location and date.
Let the reading become a route.
When an article sparks something, our planners are the next step. Tell us what you are dreaming of.